Laboratory (OpenELIS)
NidanEHR uses OpenELIS as its Laboratory Information System. It manages the full laboratory workflow: test order management, specimen tracking, sample processing, result entry, verification, and reporting.
OpenELIS is integrated with both OpenMRS and Odoo. Lab orders placed during a consultation synchronize to OpenELIS for processing, and a matching billing record is created in Odoo. Once results are verified and published, they synchronize back to the patient's clinical record in OpenMRS.
Placing a Lab Order
The laboratory workflow starts in OpenMRS during the consultation. A provider orders the tests against the patient's encounter, and each order flows to OpenELIS for processing and to Odoo for billing.
There are two ways to place a lab order:
- From the global search — search for the test, add it to the Order Basket, and submit.
- From the Lab Orders section — use the Add button to open the full list of available tests and panels, then select or search for the one you need.
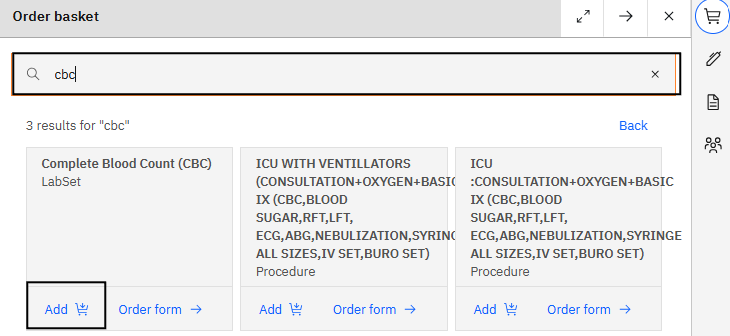
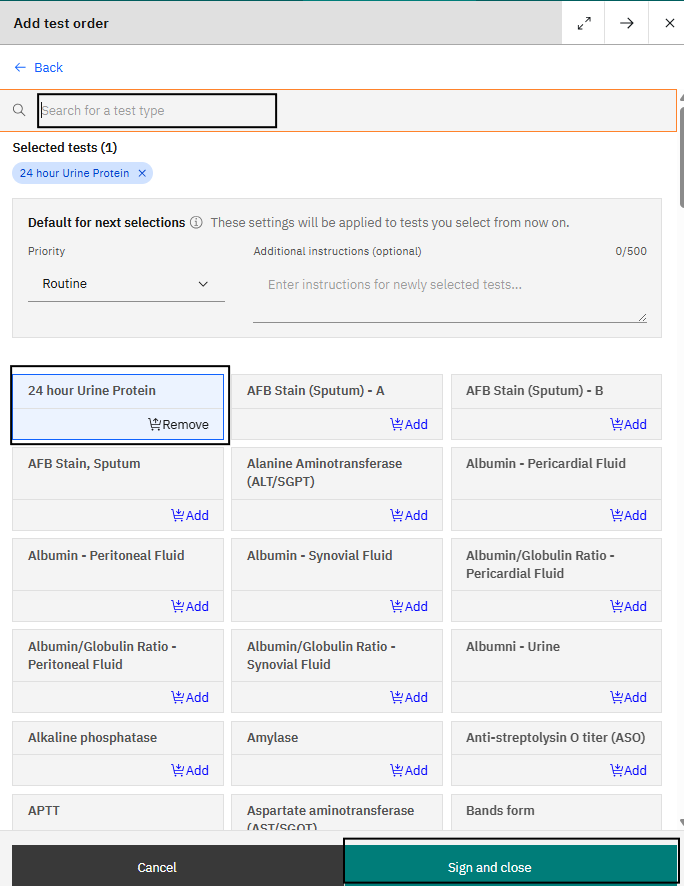
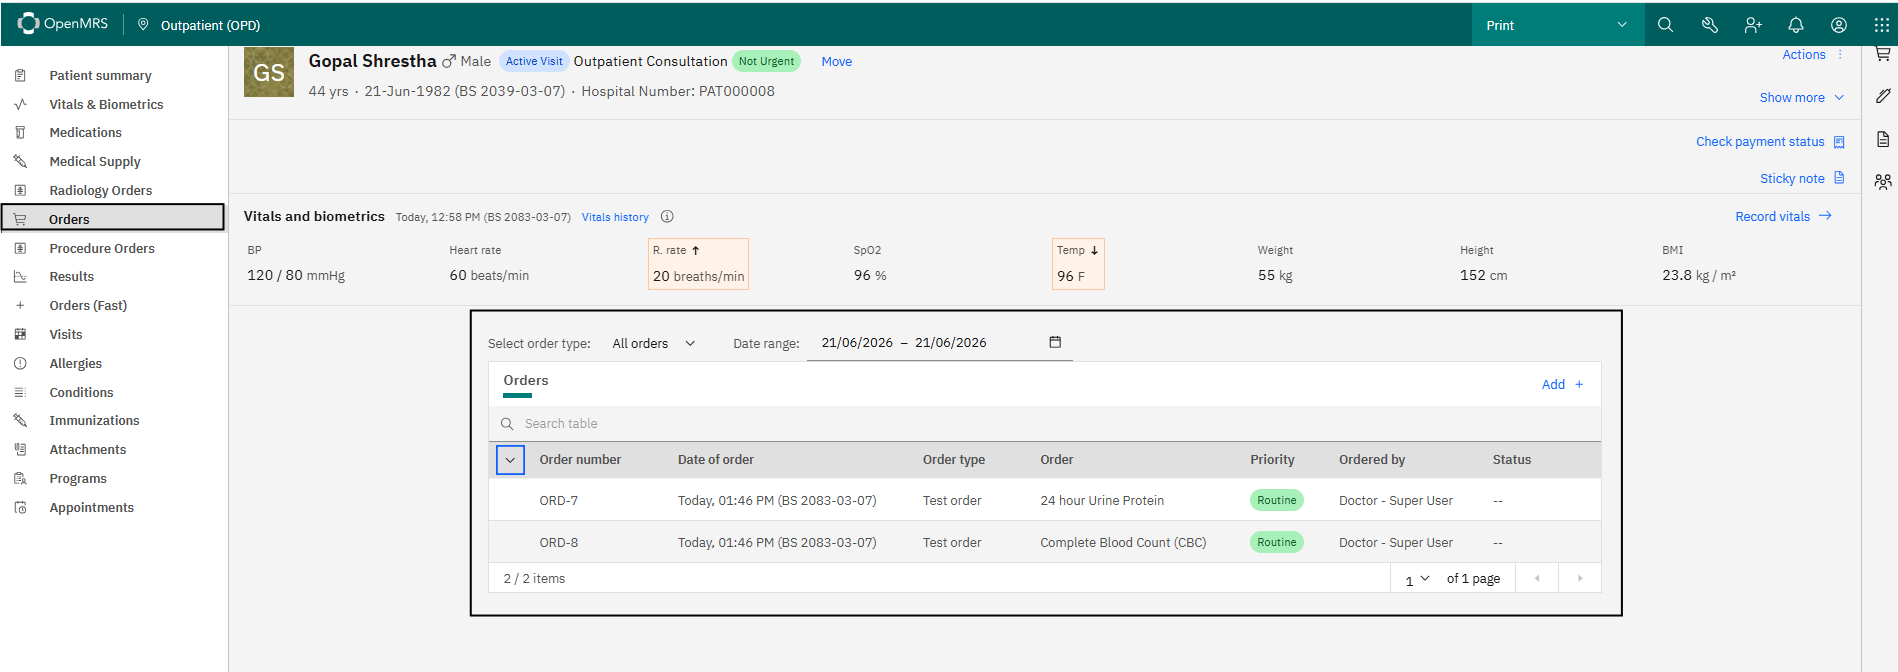
When the order is submitted, the system creates a quotation in the Odoo POS for billing and transmits the order to OpenELIS. The ordered test appears in the Order section of the patient dashboard and, once synchronized, in the OpenELIS Tests queue described below.
Collecting Samples
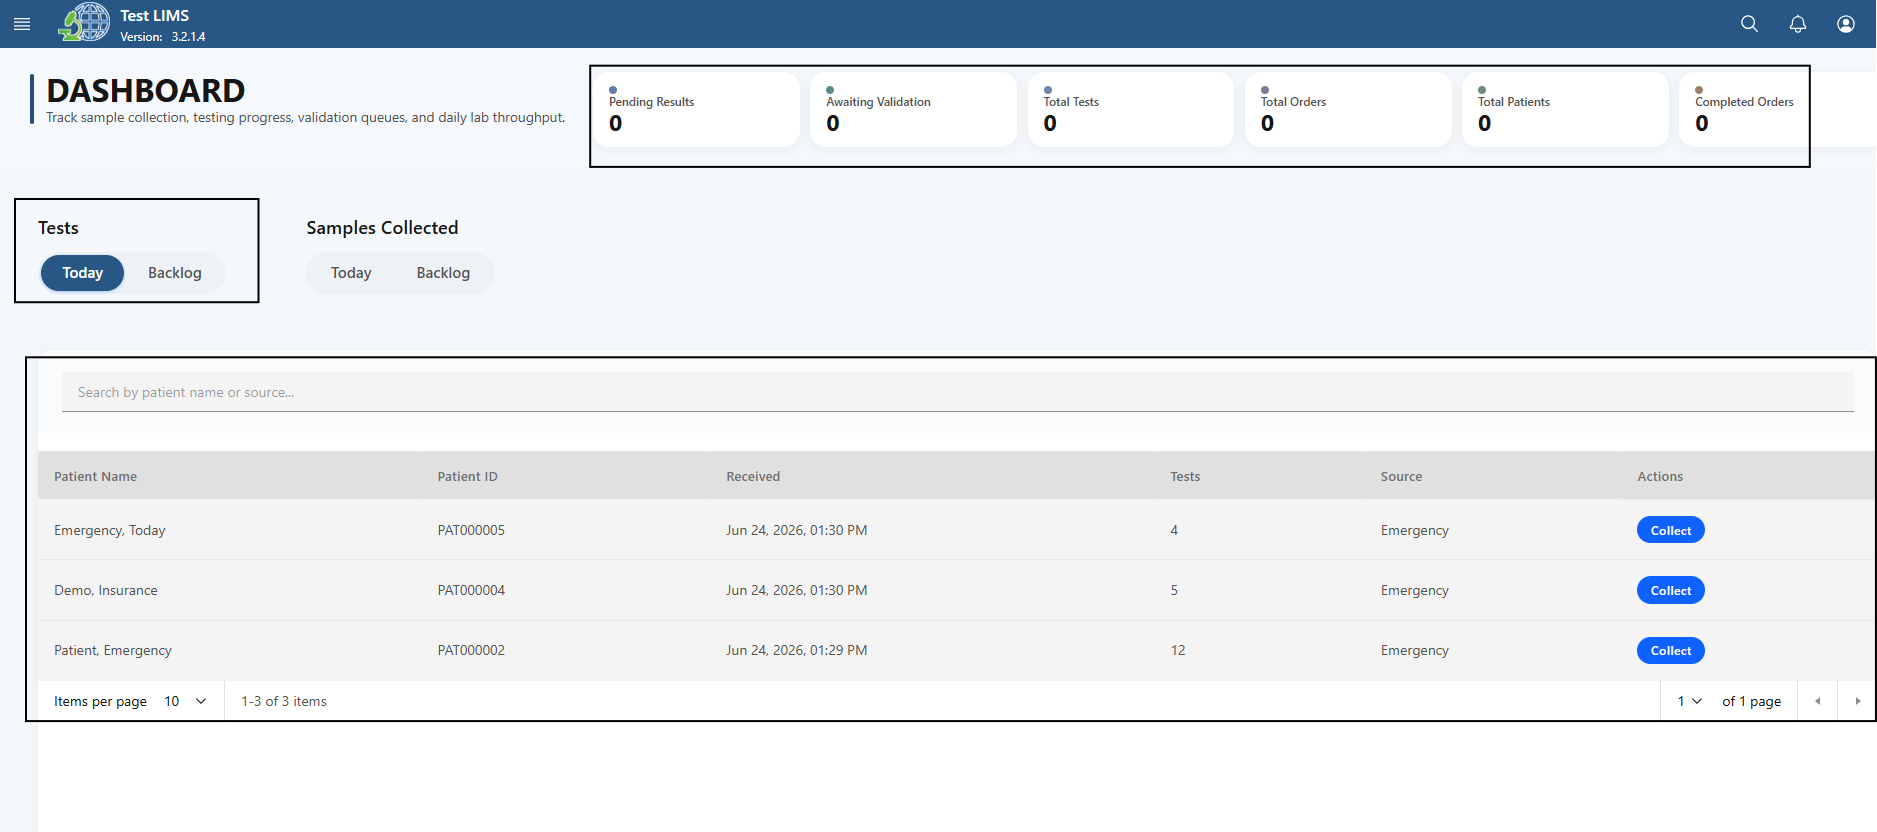
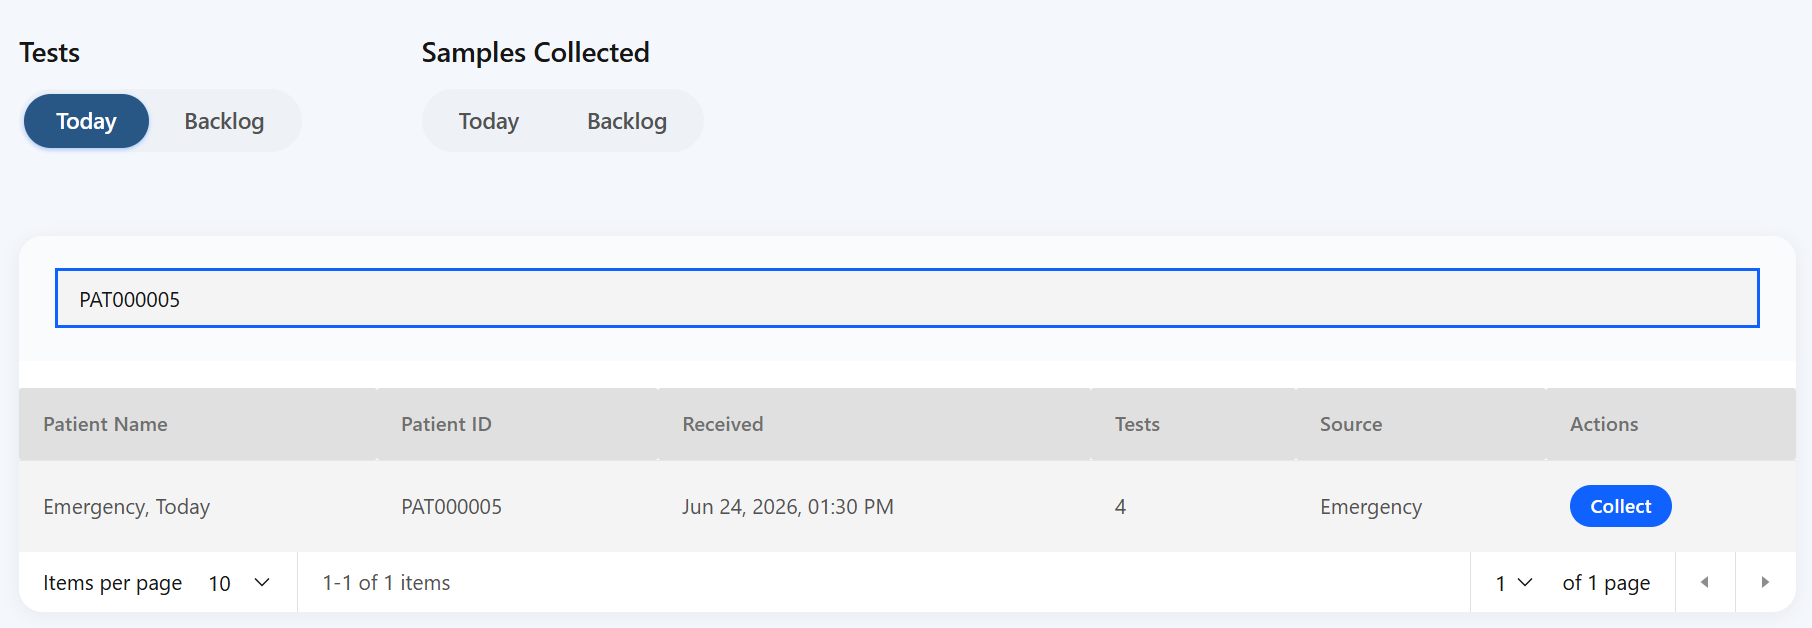
Every lab order placed in OpenMRS synchronizes to the Tests section of OpenELIS and first appears in the Today queue. If an order is not collected the same day it was placed, it moves to the Backlog queue so it stays available for later collection.
You can search for an order by Patient Name or Patient ID.
To collect a specimen, select the Collect tab for the order and record the specimen details. Once collected, the order moves to the Samples Collected section, ready for result entry, verification, and validation.
Billing paywall
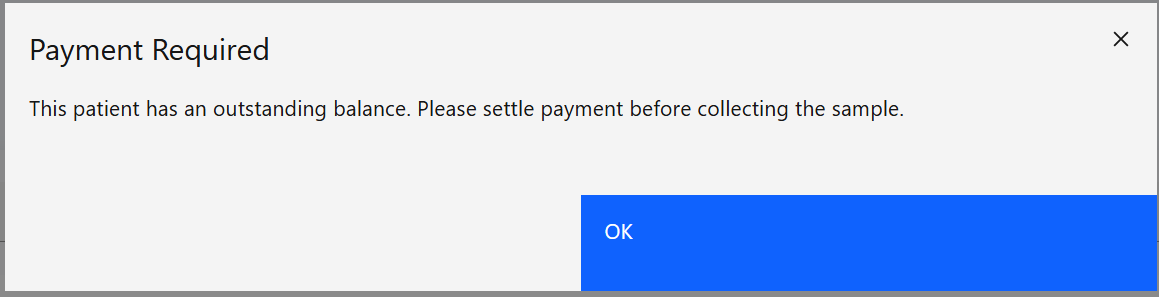
During collection, the system runs a billing validation check against Odoo. If the lab order has an unpaid bill, collection cannot proceed and the Collect action stays restricted. Once payment is confirmed in Odoo, the order becomes eligible for collection.
After payment, the order becomes eligible for collection and the system generates a unique Laboratory Number (Accession Number) — the primary identifier for tracking the specimen through the workflow. The record includes patient details, requesting provider, ward/department, order date and time, and the full list of ordered tests.
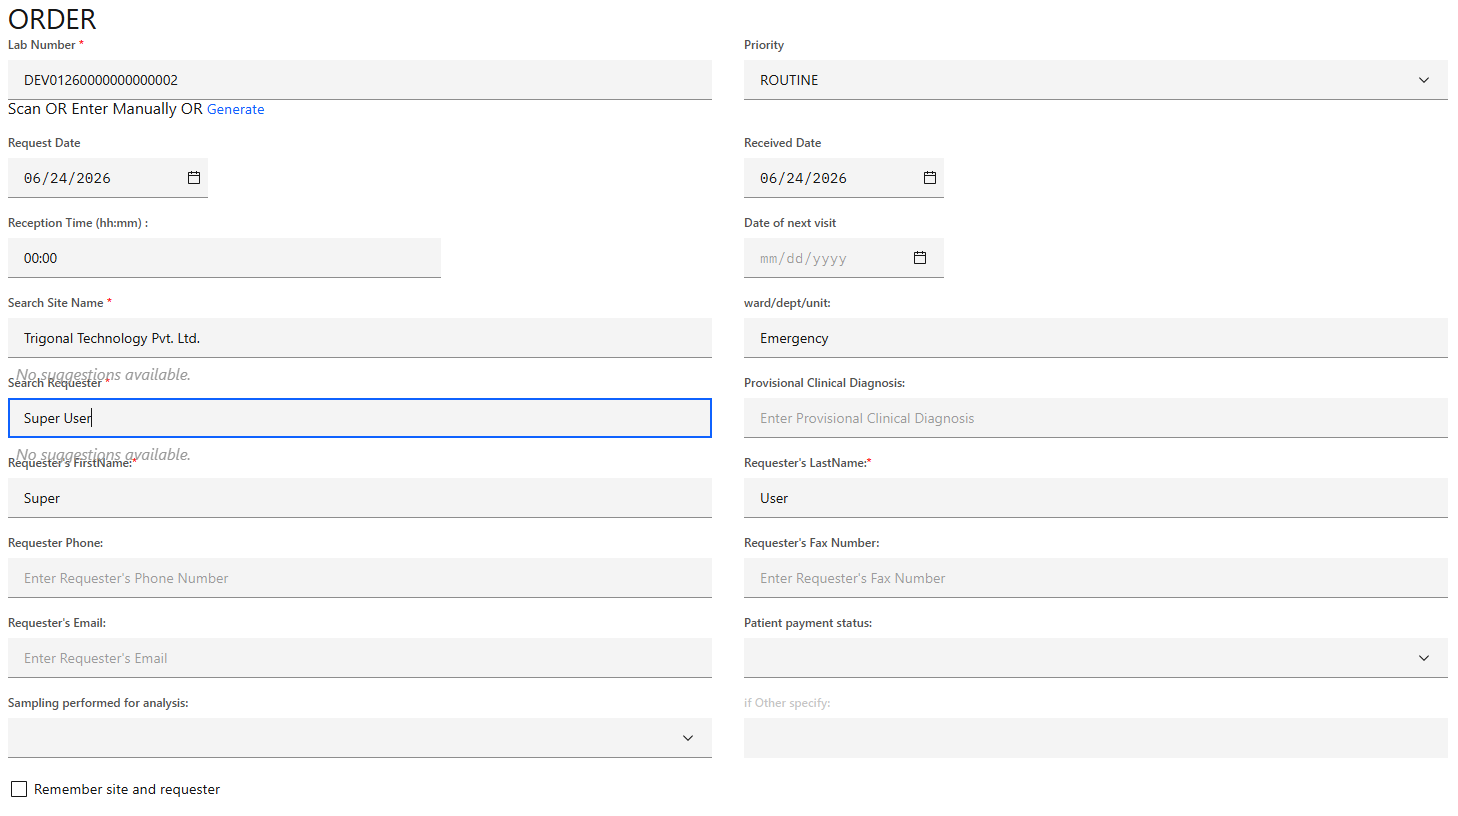
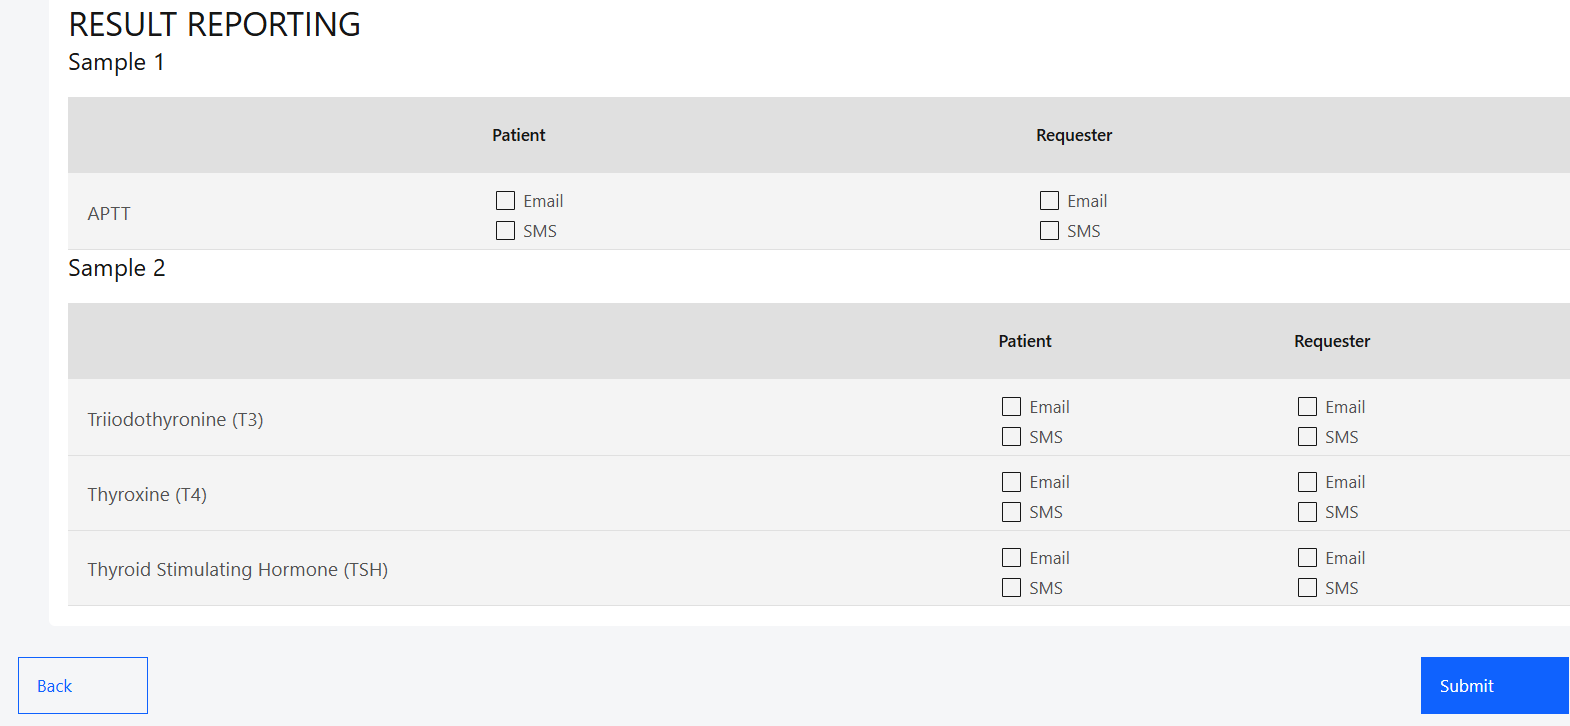
When collection is complete, the system prints a barcode label linked to the Accession Number. The label is attached to the sample container so results stay correctly associated with the patient and test order.
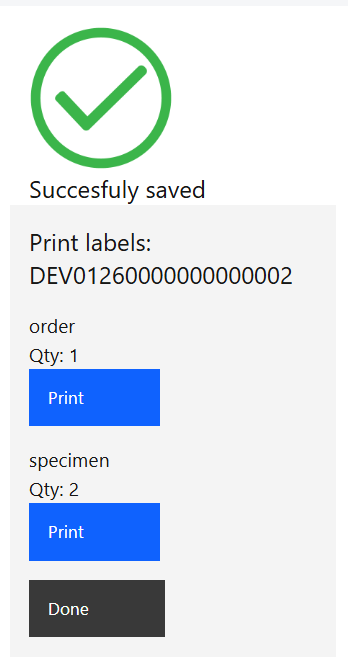
Samples Collected
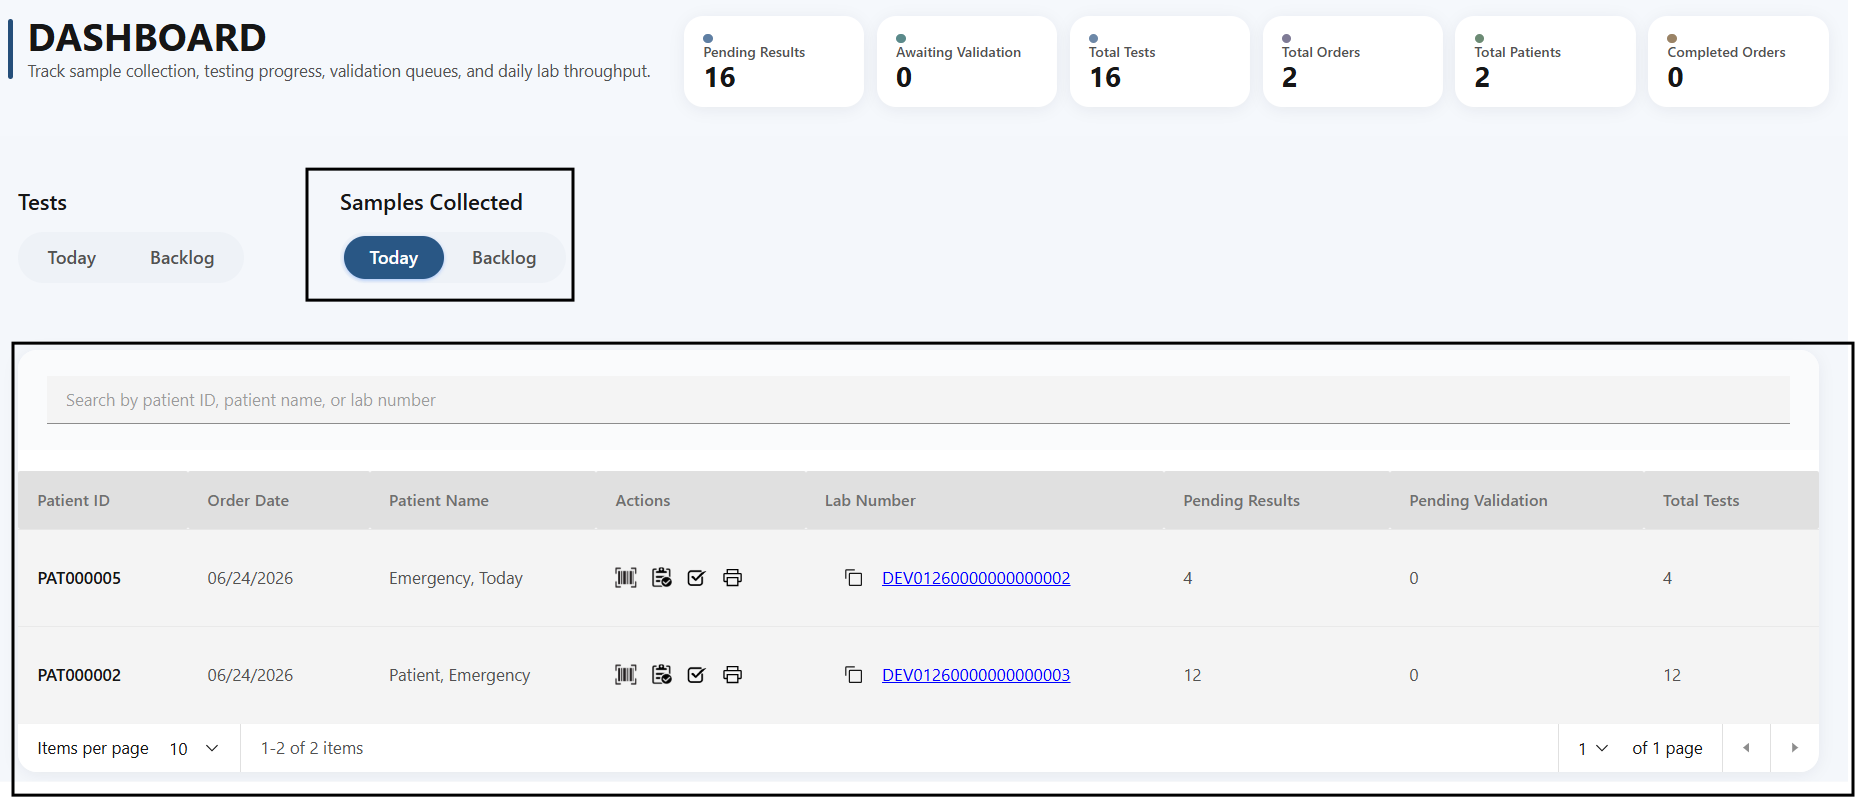
The Samples Collected section shows all orders whose specimen collection is complete. Once a sample is collected and its barcode is generated, the order moves here from the Today or Backlog queue. Each record shows the Accession Number, patient information, requesting provider, ward/department, specimen details, and the list of ordered tests.
Entering Results
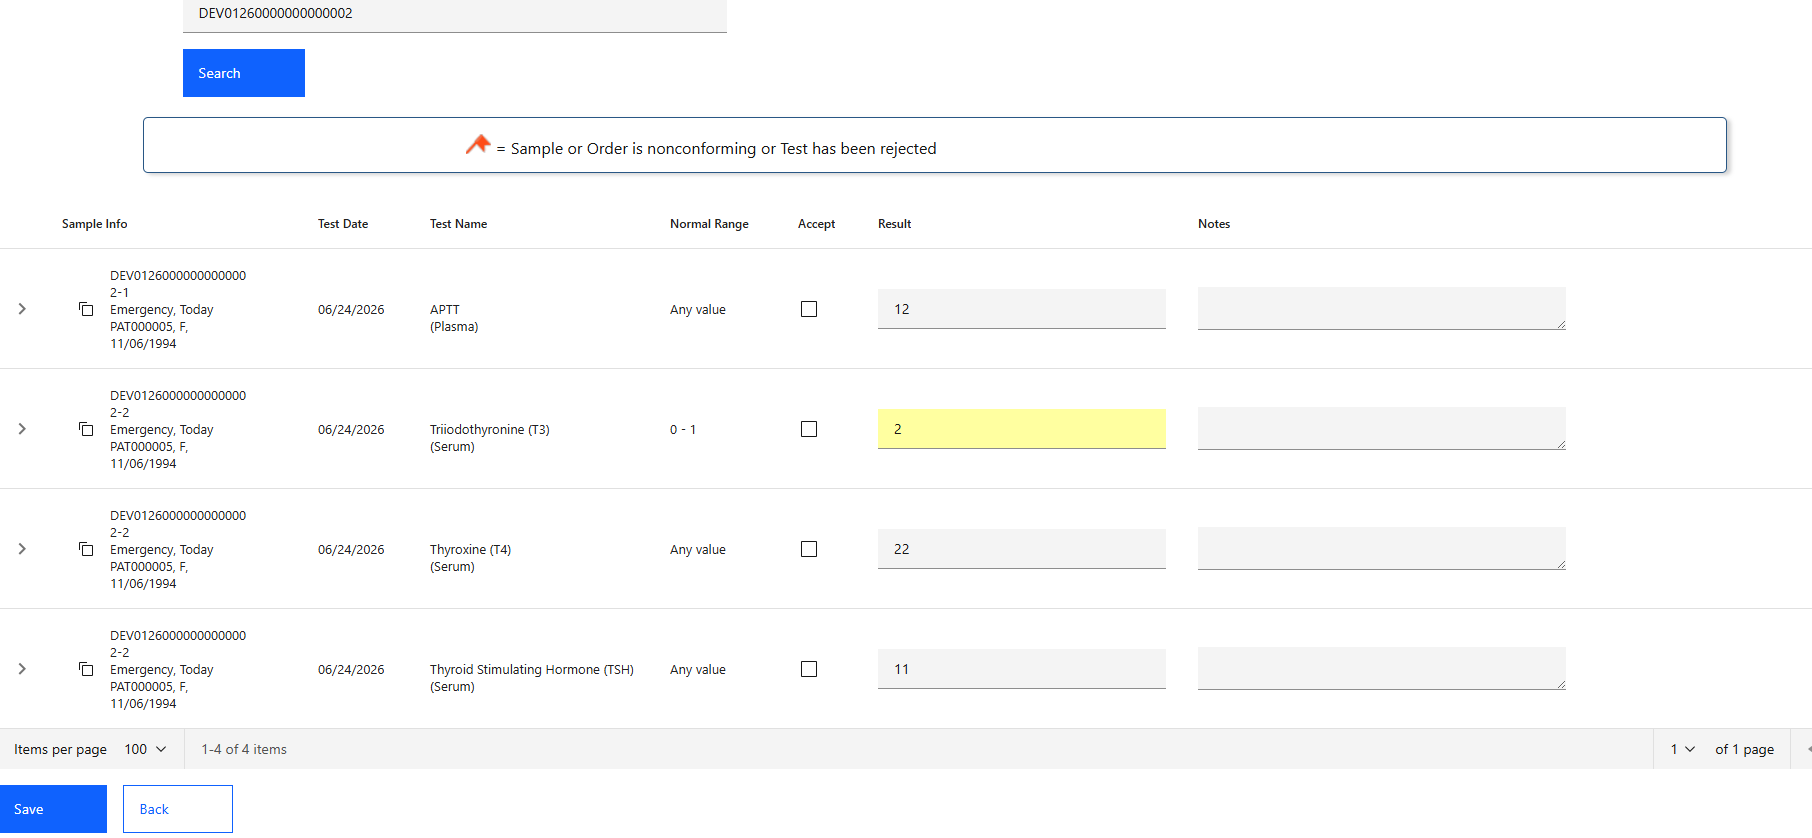
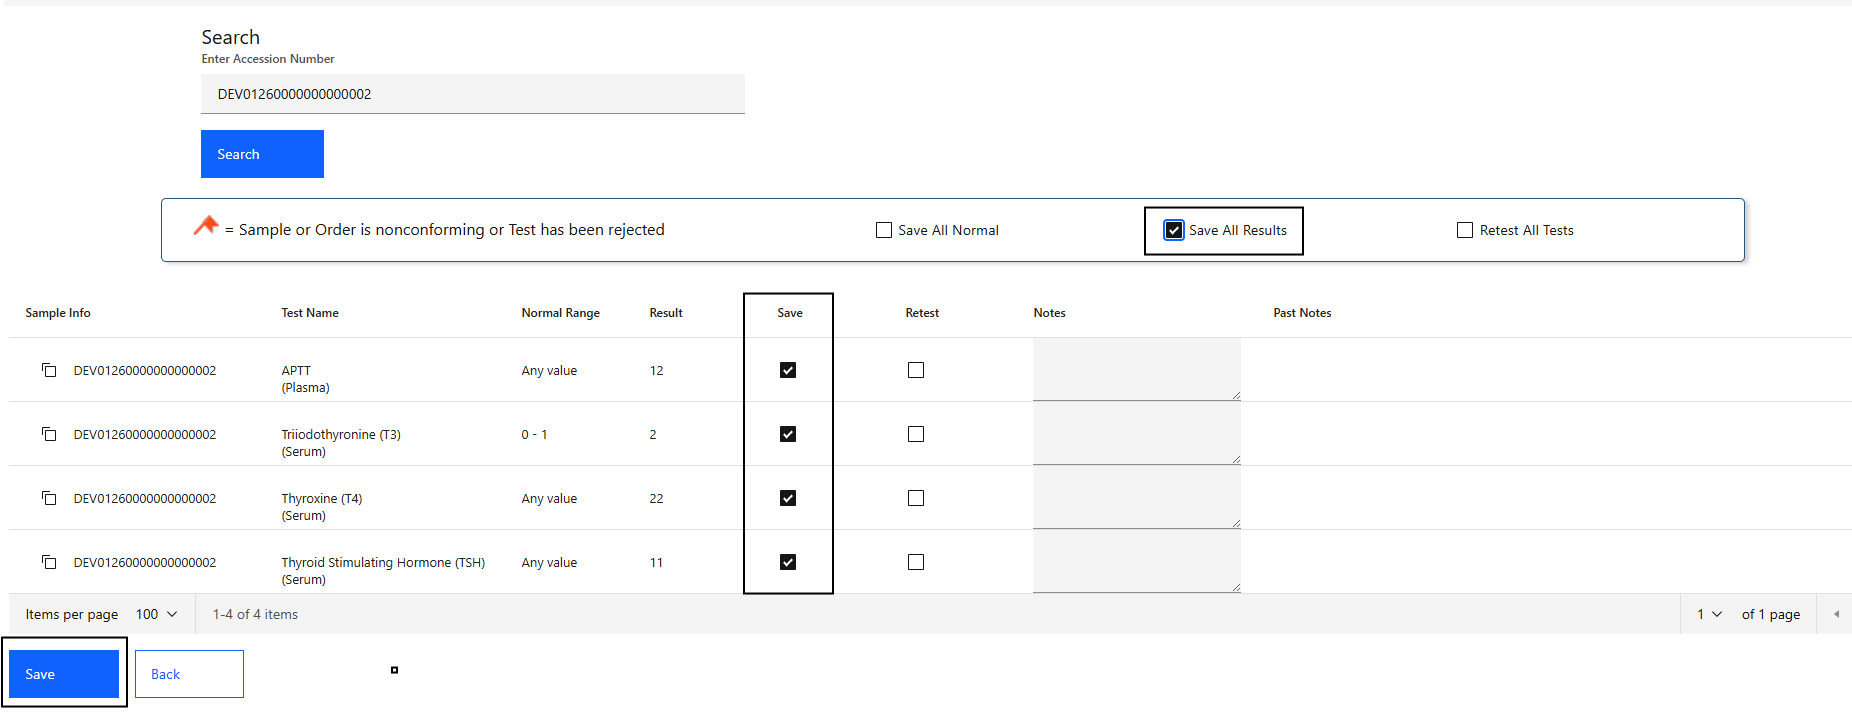
To enter results, select the Note icon next to the order in the Samples Collected section. This opens the result entry screen with the ordered tests and their result fields. Enter the results, add remarks if needed, and save.
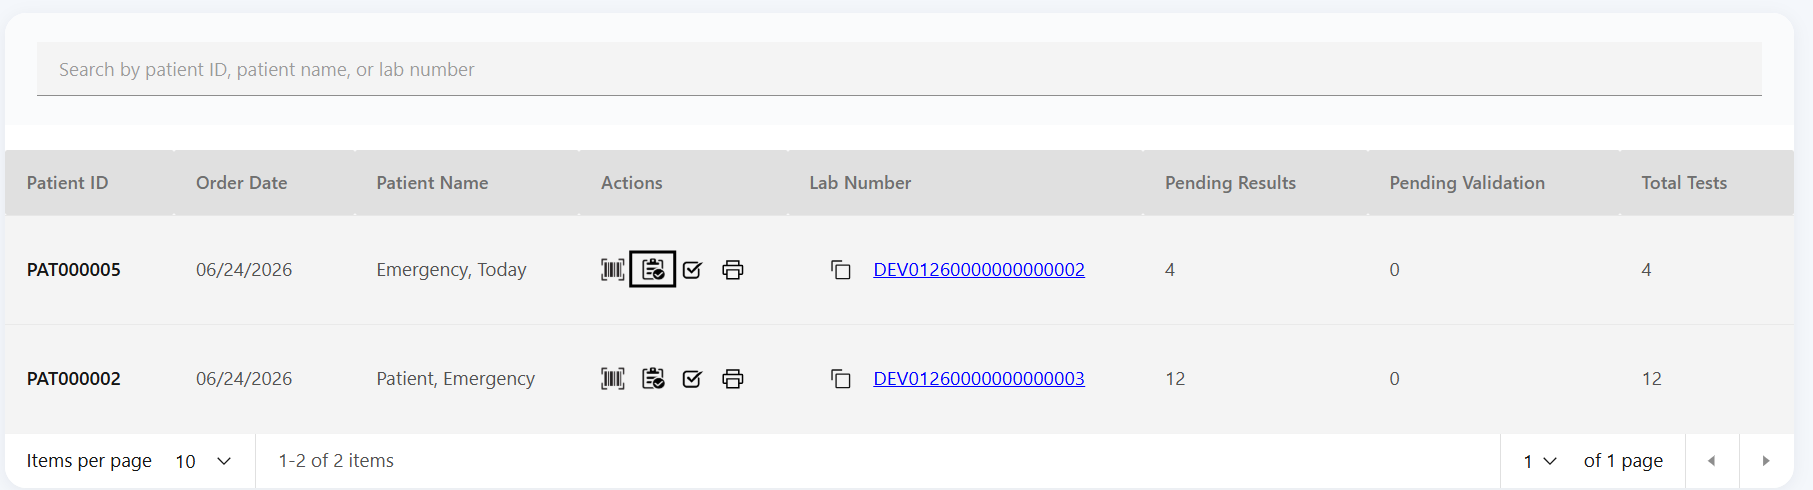
As results are entered, the system compares each value against the configured Normal Reference Range. A value within range is shown as Normal; a value below or above range is flagged as Abnormal, which helps staff and clinicians quickly spot results that need attention.
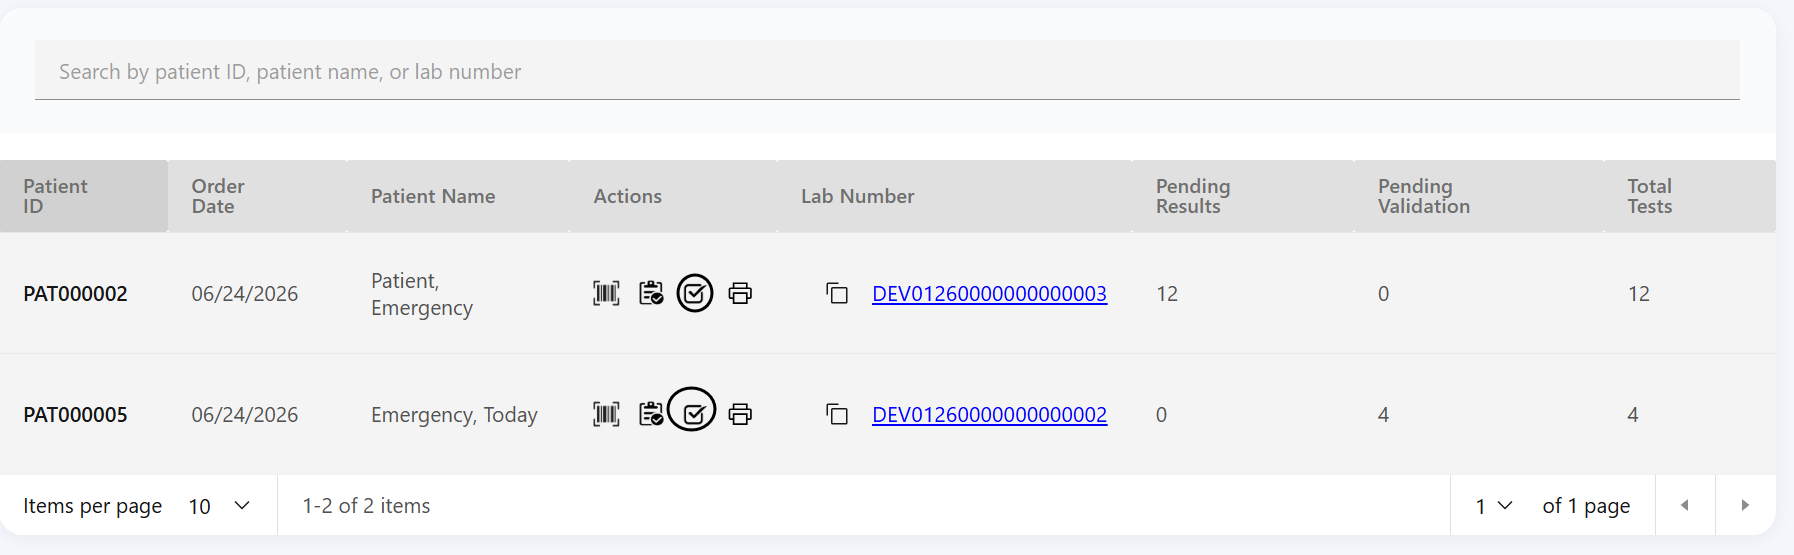
Validation and Publishing
Entered results must be reviewed and validated by the Laboratory In-Charge or an authorized staff member before publication. During validation, the In-Charge reviews the results, reference ranges, abnormal flags, and remarks. After review, the results are approved and marked Validated.
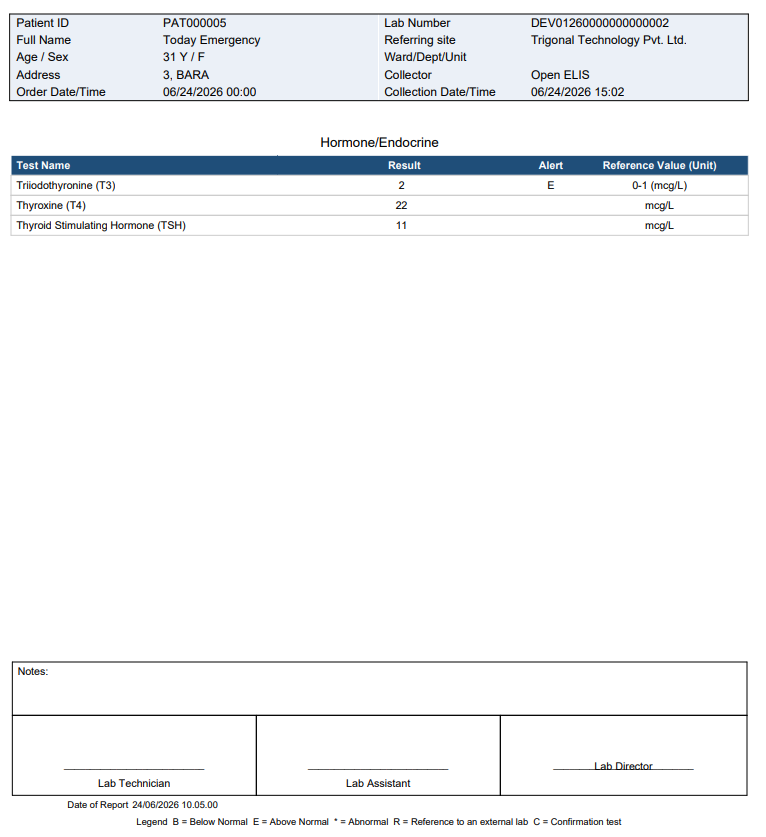
If a printed copy is needed, select the Print icon to generate an official laboratory report for the patient.
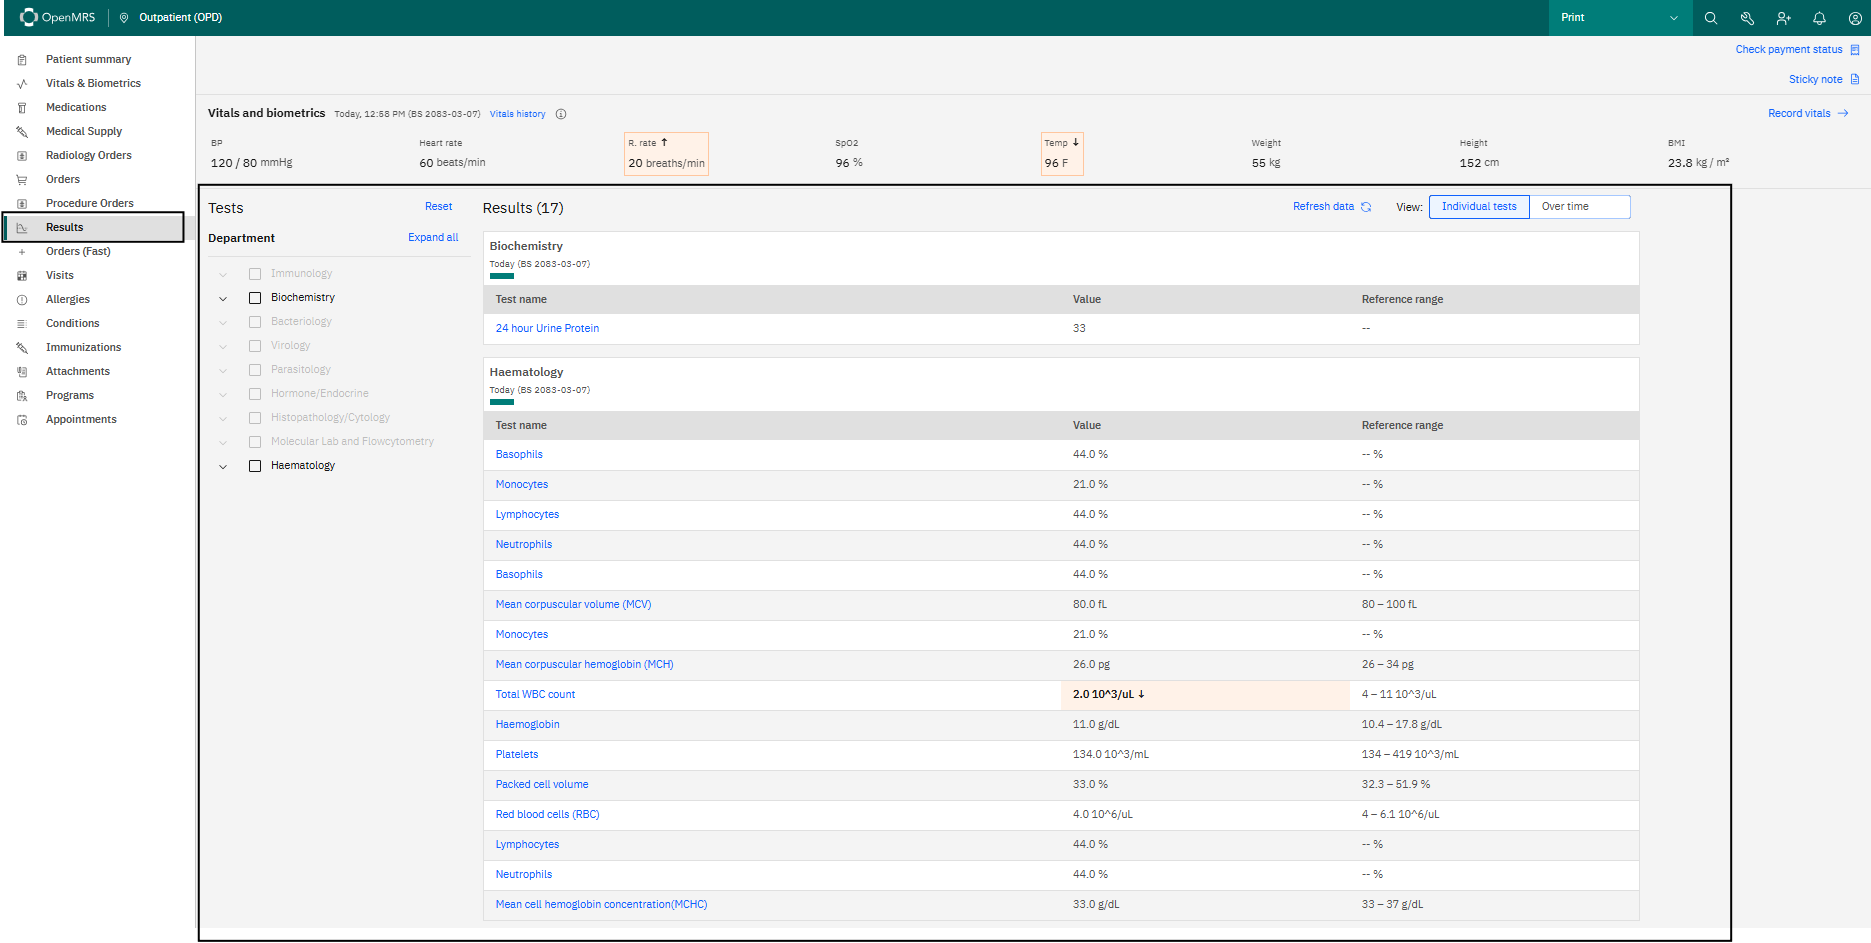
Once the results are validated and published by the OpenELIS laboratory system, they synchronize automatically to OpenMRS and appear in the Result section of the patient dashboard, where providers can review them without leaving the clinical system.