NidanEHR Patient Registration User Manual
Registration
To enroll patients into NidanEHR, the first step is registration. Patient registration and billing can be performed through the Odoo application.
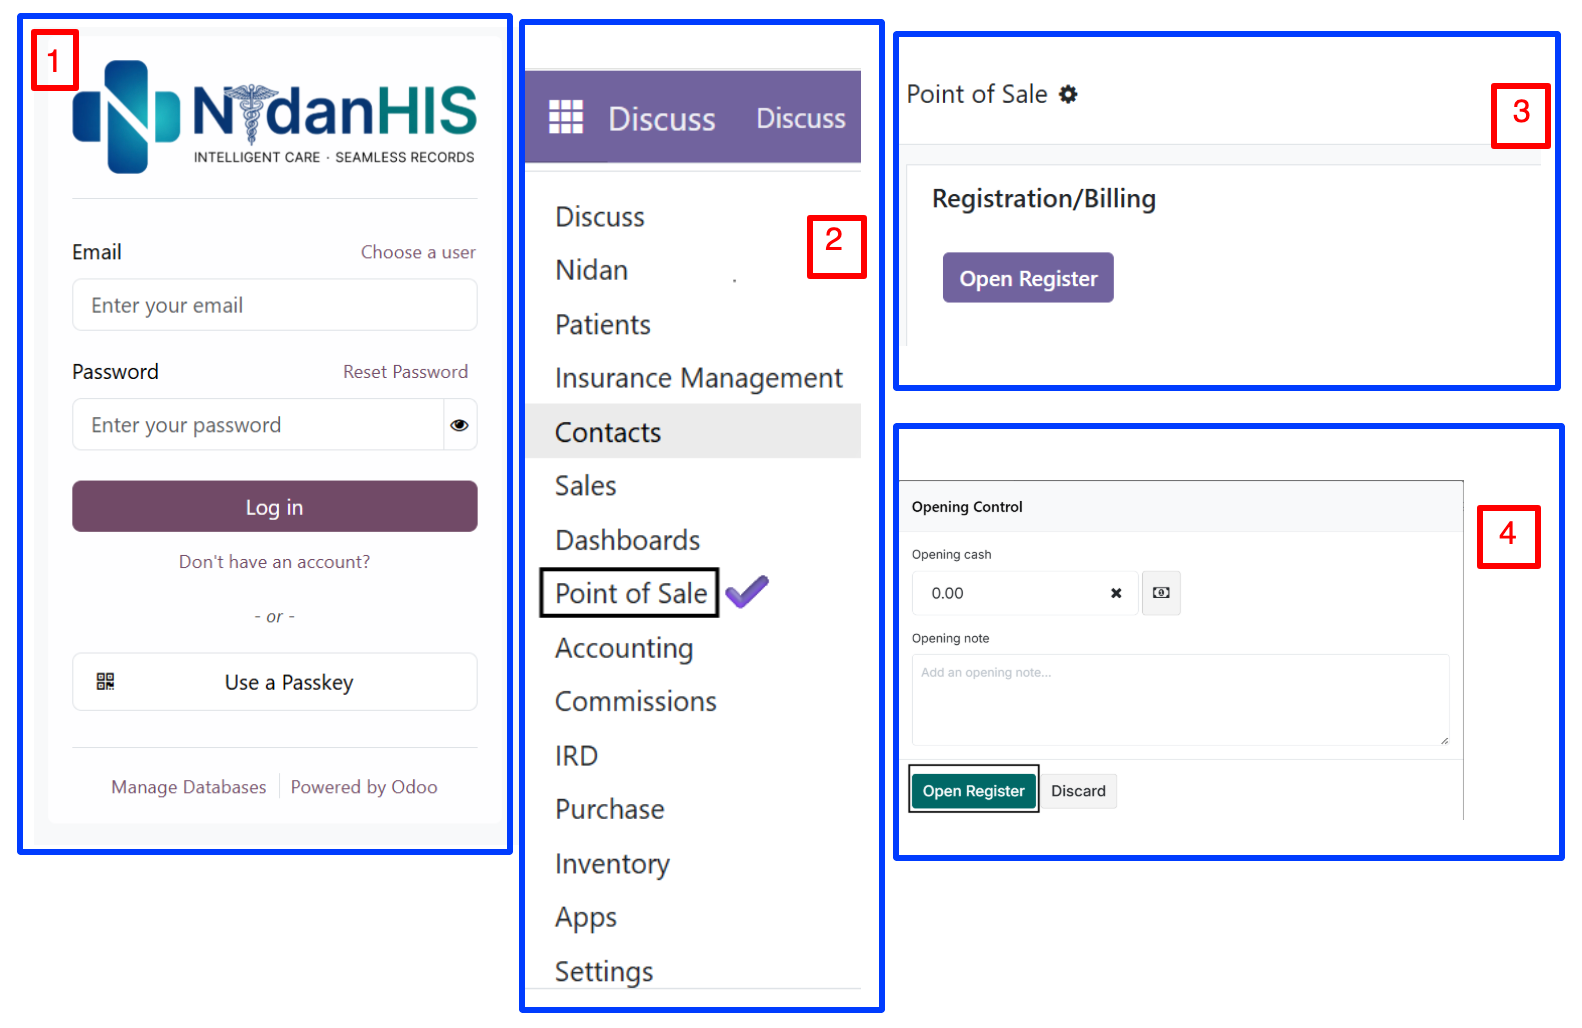
Login and Open Registration Counter
-
Log in to the NidanEHR system using the username and password provided by the hospital administrator.
-
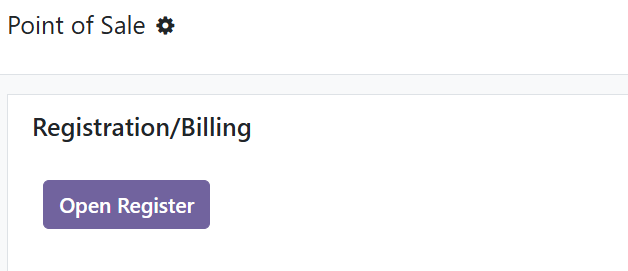
From the main dashboard, open the Point of Sale (POS) module.
-
Select the Registration/Billing counter from the list of available POS shops.
-
Click Open Register to start the registration counter.
Opening Control
When the registration counter is opened for the first time during a shift, the Opening Control window appears.
Opening Cash represents the amount of cash available in the cash drawer at the beginning of the shift.
For registration counters that do not maintain cash collections or use cashless transactions, enter:
-
Opening Cash:
0.00 -
Click Open Register to confirm and start the registration session.
Once the register is opened successfully, the patient registration process can begin.
Patient Registration
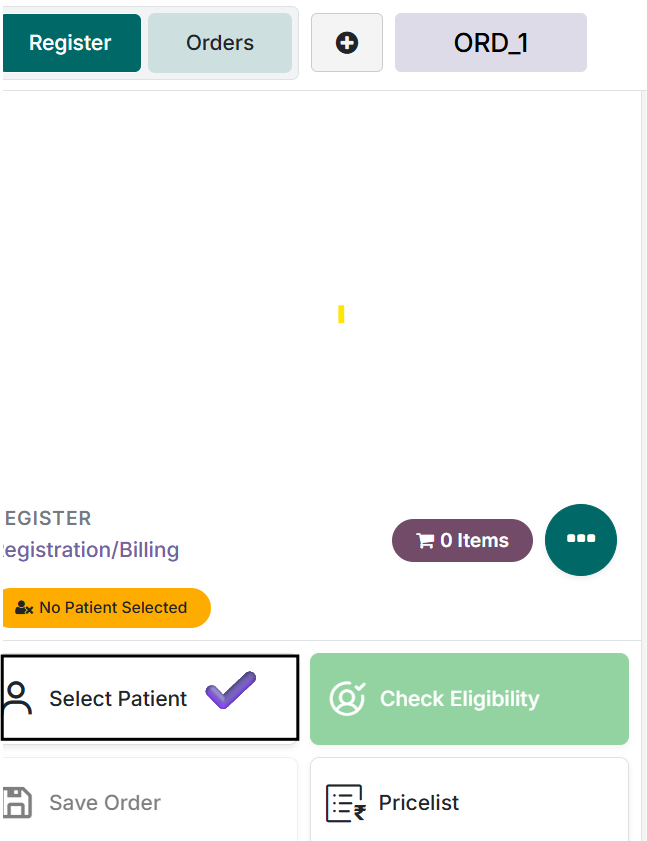
Click Select Patient to begin registration.
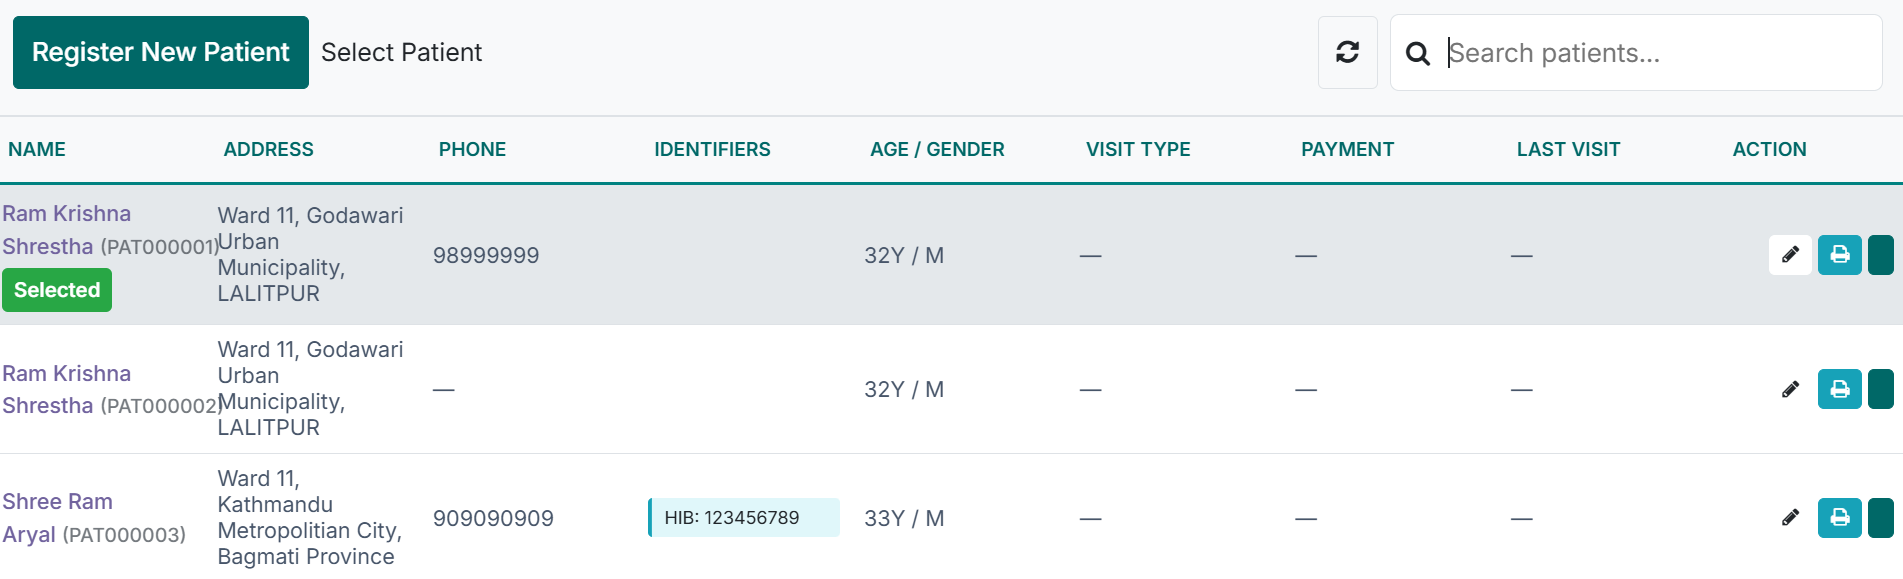
First-time visit (New Patient)
- Select Register New Patient
- Enter patient details and complete registration
- System generates a Patient Registration Number
- Patient record is created for future visits
Follow-up / Repeat visit
- Go to the search bar
- Search patient using any of the following:
- Patient Registration Number
- Phone Number
- NHIS Number
- Select the patient from search results
- Start Follow-up Visit or New Visit as required
New Patient Registration
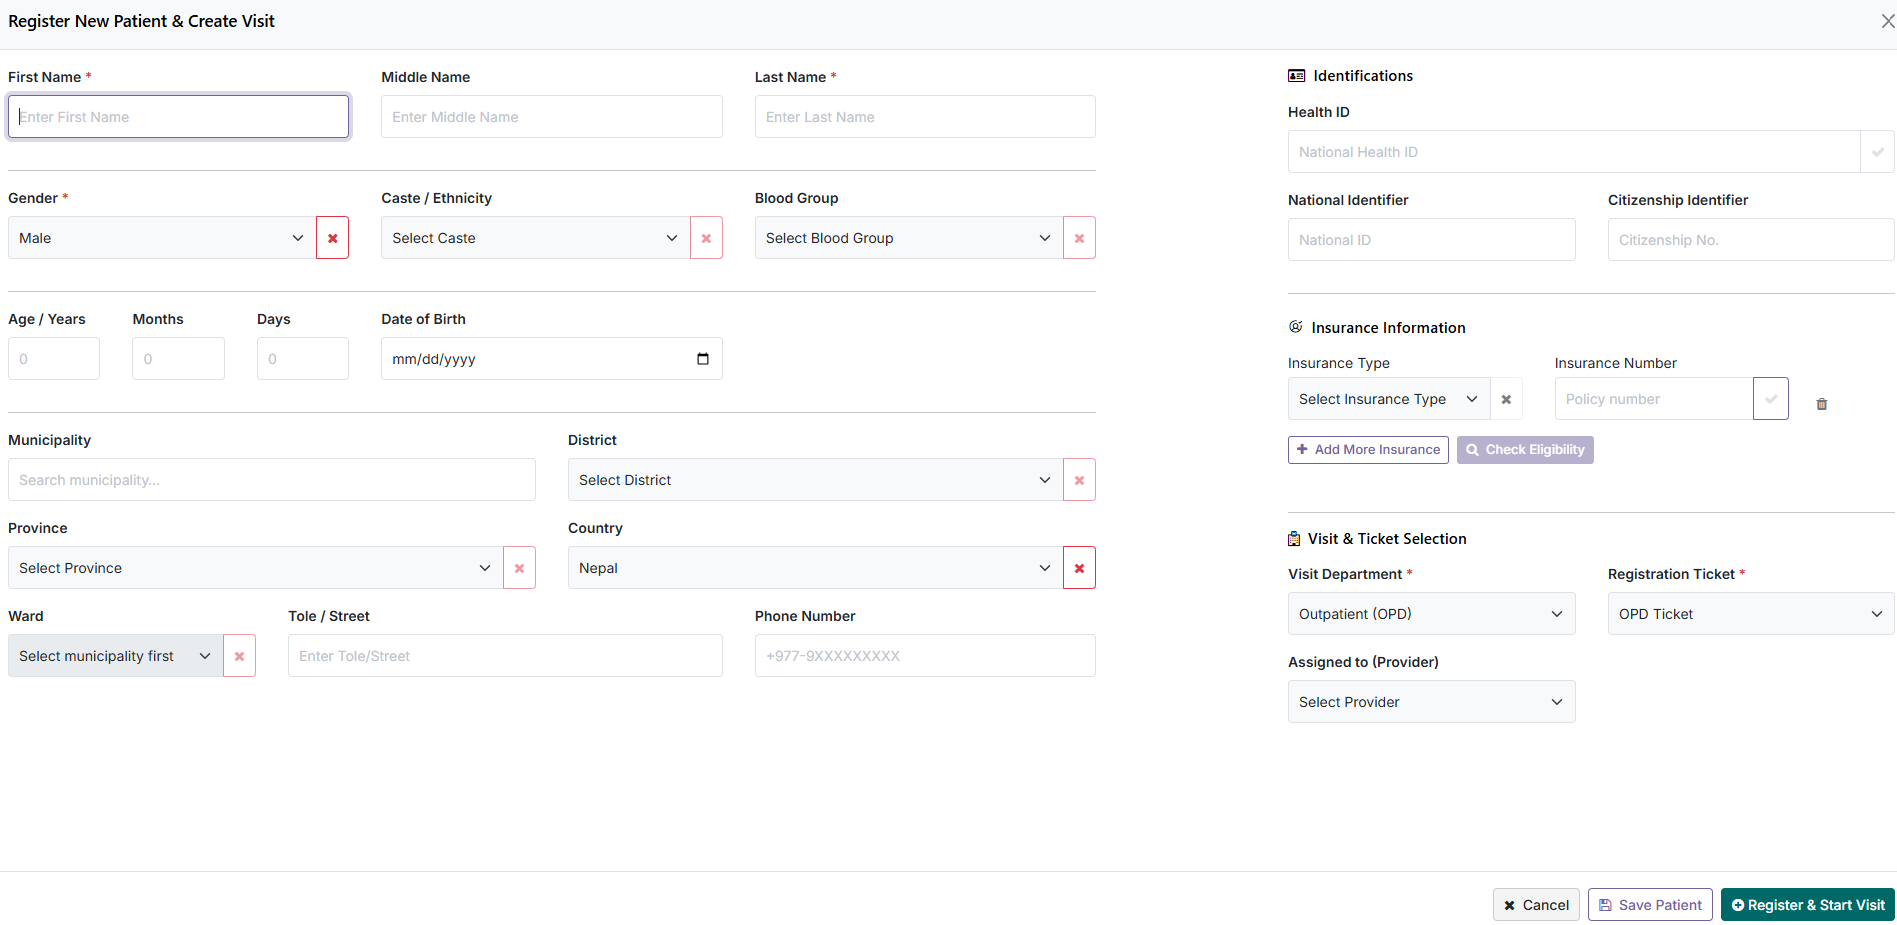
Required Information
- Patient Name (Mandatory)
- Gender (Mandatory)
- Caste / Ethnicity (Mandatory)
- Blood Group (Optional)
- Age / Date of Birth (Mandatory)
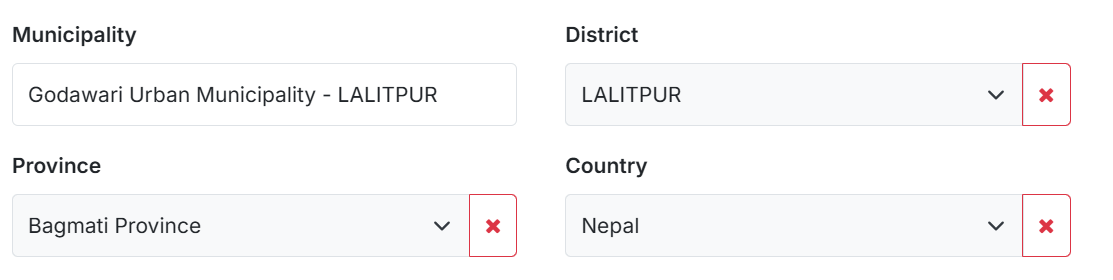
- Municipality / District / Province / Country (Mandatory)
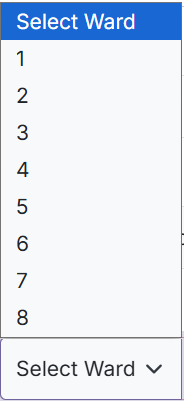
- Ward (Mandatory)
- Tole / Street (Optional)
- Phone Number (Optional)
- Identification Information (Optional)
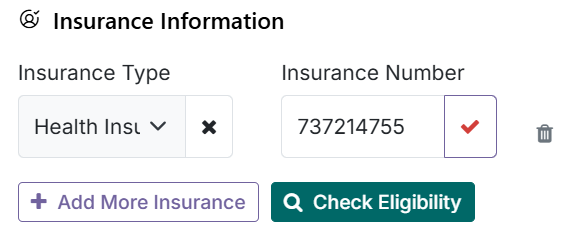
- Insurance Information (Optional)

Insurance Verification
NidanEHR integrates with OpenIMIS for Health Insurance Board (HIB) and Social Security Fund (SSF) verification.
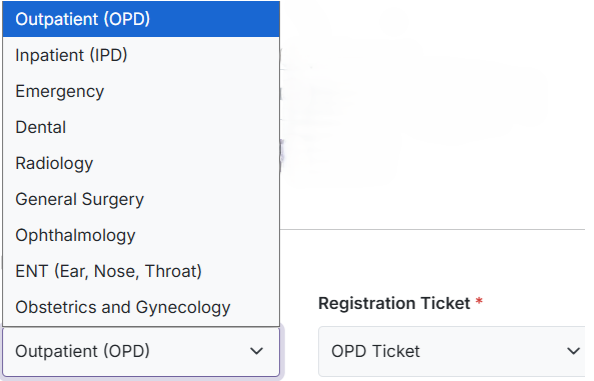
Visit & Ticket Selection
Select the department and ticket type.
| Ticket | Department |
|---|---|
| OPD | Outpatient, Dental, Ophthalmology, Radiology |
| IPD | Inpatient |
| ER | Emergency |
Assigned Provider
Patients can be assigned to a specific doctor/provider.
Save Patient or Register & Start Visit
- Save Patient: Save record without starting visit.
- Register & Start Visit: Start patient encounter immediately.
Billing and Payment
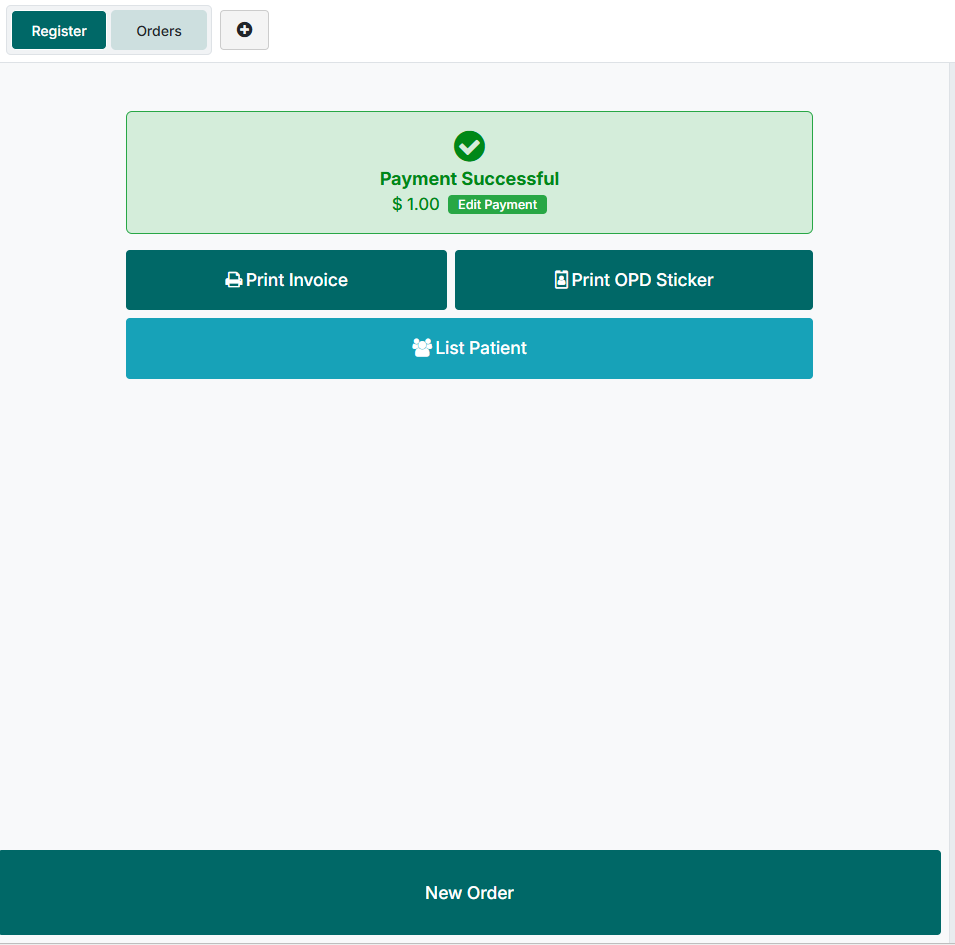
Once registration is completed, the system generates billing automatically.
Choose payment mode: - Cash - Insurance - Staff - Card
Printing Options
Print Invoice
Provides the bill for services.
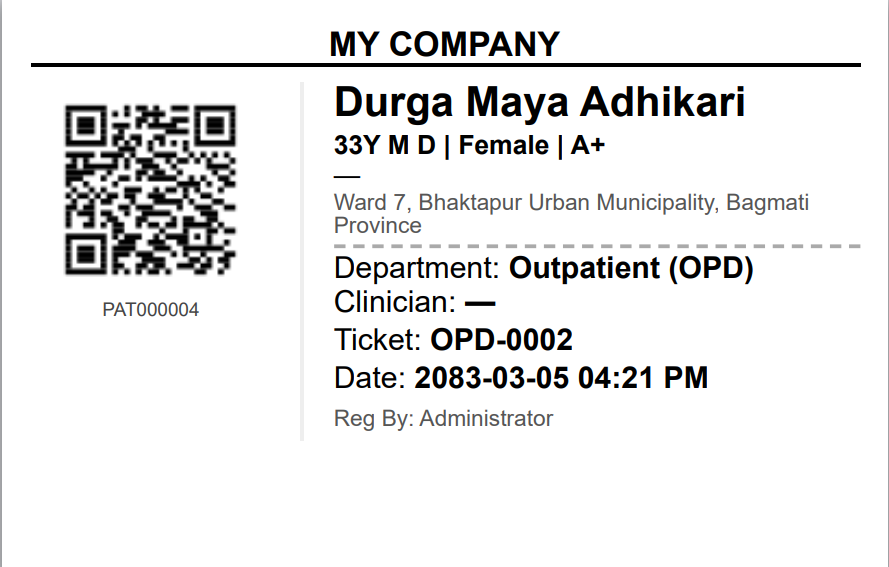
Print OPD Sticker
Provides visit sticker details.
List Patient
Returns to patient listing screen.
Registration Workflow
- Login to POS
- Open Register
- Select Patient
- Register/Search Patient
- Fill Patient Details
- Select Department
- Assign Provider
- Register & Start Visit
- Process Payment
- Print Invoice/Sticker